Ready to connect with CenturyLink in 2025? This comprehensive guide walks you through setting up your internet, TV, and phone services step-by-step. Learn about installation options, equipment, activation, and essential troubleshooting tips to ensure a smooth and speedy connection.
Introduction: Welcome to CenturyLink
Congratulations on choosing CenturyLink for your home connectivity needs in 2025! Whether you're setting up high-speed internet, immersive TV services, or reliable home phone, getting your new CenturyLink setup right from the start is crucial for a seamless experience. This guide is designed to be your go-to resource, covering everything from unboxing your equipment to enjoying your services at their full potential. We'll demystify the process, offer expert tips, and help you avoid common pitfalls, ensuring you're connected faster and with less hassle than ever before.
In today's connected world, a robust internet connection is no longer a luxury but a necessity. CenturyLink offers various plans, including their advanced Fiber Gigabit internet, designed to meet the demands of streaming, gaming, remote work, and smart home devices. This guide focuses on providing clear, actionable steps for a successful CenturyLink service setup, tailored for the latest offerings and technologies available in 2025.
Before You Start: Essential Preparations for a Smooth Setup
A little preparation goes a long way in ensuring your CenturyLink service setup is a breeze. Before your installation appointment or before you begin self-installation, take these crucial steps:
1. Confirm Your Installation Type
CenturyLink offers different installation methods. Understand which one applies to you:
- Professional Installation: A CenturyLink technician will visit your home to set up and test your services. This is common for new service activations or when significant wiring changes are needed.
- Self-Installation: For existing service locations with active lines, you might receive a kit to set up your equipment yourself. This often involves plugging in a modem/router and following online activation steps.
2. Gather Your Account Information
Have your CenturyLink account number, order confirmation details, and any temporary passwords readily available. This will be needed for activation and verification.
3. Prepare Your Home's Wiring
Internet: Locate the main phone jack (for DSL) or the designated fiber optic outlet where your modem will be placed. Ensure it's accessible and free from obstructions.
TV (Prism+): Ensure your modem/router is centrally located if you're using Wi-Fi for your TV streaming boxes. For wired connections, ensure an Ethernet port is accessible near your TV.
Phone: Identify where you want your phone jacks to be located.
4. Clear the Installation Area
Ensure the space around your modem/router, TV, and any other equipment is clean and has adequate ventilation. This is vital for preventing overheating and ensuring optimal performance.
5. Identify Your Wi-Fi Network Name (SSID) and Password
If you're setting up Wi-Fi, decide on a secure network name and password beforehand. This makes the process smoother when you get to the configuration stage.
Setting Up Your CenturyLink Internet: A Deep Dive
Getting your CenturyLink internet up and running is often the primary reason for signing up. Here’s how to approach it, whether you’re using DSL or Fiber.
Step-by-Step Internet Installation (Self-Install Focus)
- Unbox Your Equipment: Carefully unpack your CenturyLink modem/router. You'll typically find the modem/router, a power adapter, and an Ethernet cable.
- Connect the Modem/Router:
- For DSL: Connect one end of the phone cable (often provided) to the modem's DSL port and the other end to your active phone jack.
- For Fiber: Connect the provided Ethernet cable from the Optical Network Terminal (ONT) – the device that brings the fiber into your home – to the modem/router's WAN or Internet port. The ONT is usually installed by a technician.
- Power On and Wait: The modem/router will power on. Wait for the lights to stabilize. This can take several minutes. Look for a solid power light, a solid DSL/Internet light, and a Wi-Fi light (if applicable). Consult your equipment manual for specific light indicators.
- Connect Your Devices:
- Wired Connection: Use an Ethernet cable to connect your computer directly to one of the LAN ports on the modem/router.
- Wireless Connection: On your computer, smartphone, or tablet, search for available Wi-Fi networks. Select your CenturyLink network name (SSID) and enter the password (usually found on a sticker on the modem/router or in your setup guide).
- Activate Your Service: Open a web browser on a connected device. You should be automatically redirected to the CenturyLink activation page. If not, manually enter
activation.centurylink.comor the IP address of your modem (often 192.168.0.1). Follow the on-screen prompts to complete the activation process using your account information. - Test Your Connection: Once activation is complete, try browsing a few websites. Run a speed test (e.g., Speedtest.net) to verify you're getting the speeds you expect from your CenturyLink plan.
Professional Internet Installation
If you have a professional installation scheduled, the technician will handle all the physical connections, wiring, and initial setup. They will ensure the service is active and performing optimally before they leave. Your role will primarily involve guiding them on where you want the equipment placed and confirming the connection works on your devices.
Connecting Your CenturyLink TV (Prism+): Your Entertainment Hub
CenturyLink's Prism+ TV service is an IP-based television service, meaning it uses your internet connection. A stable and fast internet connection is paramount for uninterrupted, high-quality viewing.
Setting Up Your Prism+ Equipment
- Prerequisites: Ensure your CenturyLink internet service is fully installed and active. Your modem/router should be powered on and connected.
- Connect the Prism+ Equipment:
- Set-Top Box: Connect the provided HDMI cable from the Prism+ set-top box to your TV's HDMI input. Connect the power adapter to the box and plug it into an outlet.
- Network Connection:
- Wired (Recommended): Use an Ethernet cable to connect the Prism+ set-top box directly to an available LAN port on your CenturyLink modem/router. This provides the most stable connection for streaming.
- Wireless: If a wired connection isn't feasible, the set-top box can connect wirelessly. During setup, you'll be prompted to connect to your Wi-Fi network. Ensure your Wi-Fi signal is strong in the location of your TV.
- Power On and Follow On-Screen Prompts: Turn on your TV and select the correct HDMI input. Power on the Prism+ set-top box. You will be guided through an on-screen setup process.
- Pair Remote and Activate: Follow the instructions to pair your remote control with the set-top box. You may need to enter account information or a confirmation code to activate your Prism+ service.
- Channel Scan and Setup: The system will perform a channel scan and complete the initial setup. Once done, you should be able to access your TV guide and start watching.
Optimizing Your Prism+ Experience
For the best Prism+ experience, especially if you have multiple devices streaming simultaneously, consider these points:
- Internet Speed: Ensure your CenturyLink internet plan meets the recommended speeds for HD and 4K streaming. For Prism+, CenturyLink typically recommends at least 25 Mbps for one HD stream, but higher is always better for multiple streams or higher resolutions.
- Network Congestion: Minimize other bandwidth-intensive activities (large downloads, extensive online gaming) while watching TV, particularly during peak hours.
- Wired Connections: Prioritize Ethernet connections for your set-top box and modem/router whenever possible.
Activating Your CenturyLink Home Phone Service
CenturyLink home phone service offers reliable voice communication. Activation is usually straightforward, especially if you're keeping your existing number.
Phone Service Activation
- Professional Installation: If you're a new customer or moving service to a new location, a technician may install the necessary wiring and connect your service.
- Self-Installation (Existing Lines): If you have existing phone jacks and active lines, you might receive a simple setup guide.
- Connect the provided phone cord from your CenturyLink modem/router (if it has a phone port, often labeled "Phone 1" or "TEL 1") to your primary phone jack.
- If you have a separate voice gateway device, connect the phone cord from that device to your jack.
- Activate Online or via Phone: Follow the instructions provided in your welcome kit. This usually involves visiting a specific CenturyLink activation website or calling a dedicated phone number. You'll need your account details.
- Test Your Line: Once activated, plug in a traditional corded phone and listen for a dial tone. Make a test call to ensure your line is working correctly. If you ported your number, verify it's active with CenturyLink.
Understanding Your CenturyLink Equipment (2025 Models)
CenturyLink provides specific equipment designed to work with their network. While models can vary, here's a general overview of what you might encounter:
| Equipment Type | Purpose | Key Features (2025) | Connection Type |
|---|---|---|---|
| Modem/Router Combo (DSL/Fiber Gateway) | Connects your home to the CenturyLink network and broadcasts Wi-Fi. | Wi-Fi 6 support, multiple Ethernet ports, advanced security features, voice ports (on some models). | DSL phone jack or Fiber ONT port; Ethernet to devices. |
| Optical Network Terminal (ONT) | Converts the fiber optic signal into an electrical signal for your modem. (Usually installed by technician). | Passive optical technology, provides Ethernet output. | Fiber optic cable input; Ethernet output. |
| Prism+ Set-Top Box | Receives and decodes the TV signal for display on your television. | 4K streaming capability, DVR functionality (optional), voice control integration, Wi-Fi and Ethernet connectivity. | HDMI to TV; Ethernet or Wi-Fi to network. |
| Traditional Phone Adapter (if applicable) | Enables use of traditional phones with VoIP services. | RJ11 phone jack. | Ethernet to modem/router; RJ11 to phone. |
CenturyLink may provide leased equipment or allow you to use compatible third-party devices for internet service. Always check CenturyLink's compatibility list if you plan to use your own modem/router to ensure it meets their network requirements for 2025.
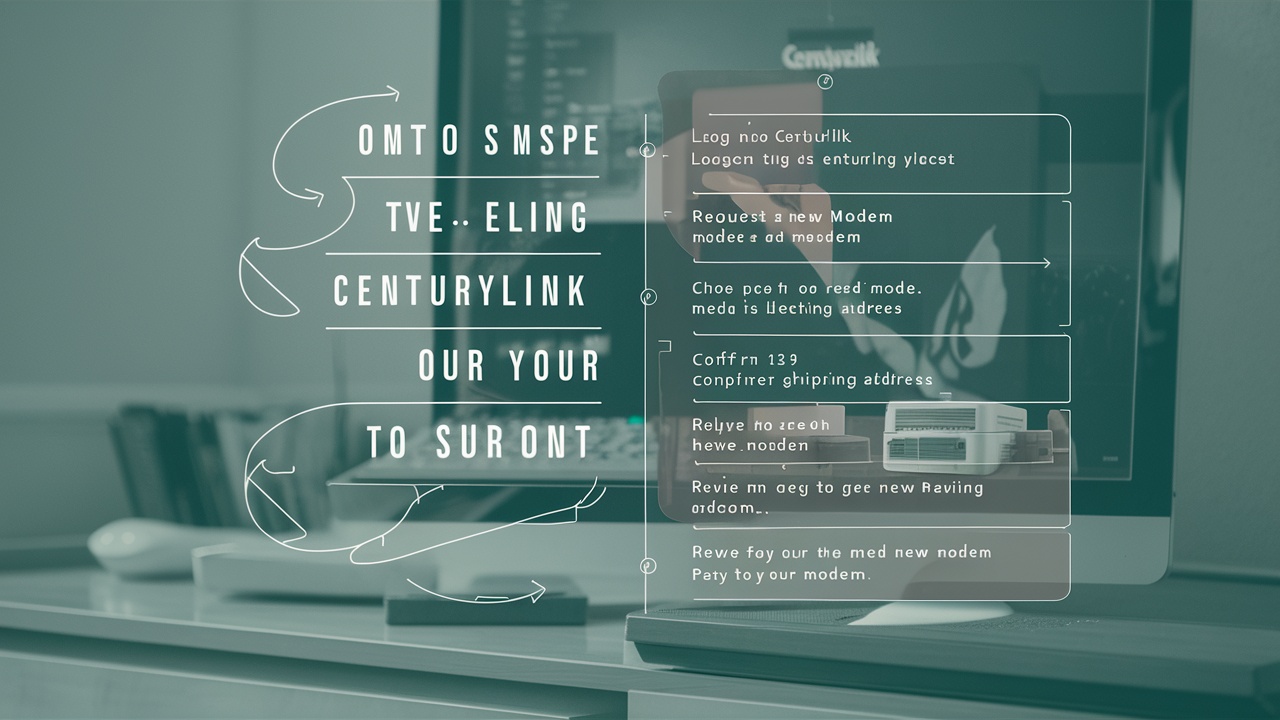
Common Setup Issues & Troubleshooting Tips (2025 Edition)
Even with the best preparation, you might encounter minor hiccups. Here’s how to tackle common setup problems:
1. No Internet Connection
- Check Lights: Verify the power, DSL/Internet, and Wi-Fi lights on your modem/router are solid or blinking as expected. Refer to your manual.
- Restart Equipment: Power cycle your modem/router by unplugging it for 30 seconds, then plugging it back in. Wait for it to fully boot up.
- Check Cables: Ensure all cables are securely plugged into the correct ports and are not damaged.
- Activation Status: Confirm your service has been fully activated. If you recently installed, revisit the activation website.
- Test Wired vs. Wireless: If Wi-Fi isn't working, try connecting a device directly via Ethernet cable to rule out Wi-Fi issues.
2. Slow Internet Speeds
- Run a Speed Test: Use a reliable speed test tool (e.g., Speedtest.net, Fast.com) while connected via Ethernet.
- Reduce Network Load: Temporarily disconnect other devices and close bandwidth-heavy applications.
- Router Placement: Ensure your router is centrally located and not obstructed.
- Check for Interference: Other electronics (microwaves, cordless phones) can interfere. Try changing your Wi-Fi channel via your router's settings.
- DSL Specific: For DSL, ensure your modem is connected directly to the wall jack, bypassing any surge protectors or splitters initially.
3. Wi-Fi Connectivity Problems
- Restart Router: A simple reboot often resolves Wi-Fi issues.
- Check Password: Ensure you're entering the correct Wi-Fi password (case-sensitive).
- Signal Strength: Move closer to the router. If signal is weak, consider a Wi-Fi extender or mesh system.
- Channel Congestion: If you live in a densely populated area, Wi-Fi channels can get crowded. Access your router settings to try a less congested channel (e.g., 1, 6, or 11 for 2.4GHz).
4. TV (Prism+) Buffering or Pixelation
- Check Internet Speed: Ensure your internet speed meets the minimum requirements for streaming.
- Restart Set-Top Box: Unplug the power from your Prism+ box, wait 30 seconds, and plug it back in.
- Wired Connection: If using Wi-Fi, try connecting the set-top box directly to your router with an Ethernet cable.
- Reduce Network Usage: Limit other heavy internet activities while watching TV.
Maximizing Your CenturyLink Performance
Once your CenturyLink services are set up and running, you can take steps to ensure you're getting the best possible performance and experience.
Optimizing Your Wi-Fi Network
- Secure Your Network: Always use a strong, unique password for your Wi-Fi network. Consider using WPA3 encryption if your router supports it for enhanced security.
- Change Default Passwords: Change the default administrator password for your modem/router to prevent unauthorized access.
- Utilize 5GHz Band: If your router is dual-band, connect devices that are close to the router and require high speeds (like streaming devices or gaming consoles) to the 5GHz band for faster speeds and less interference. Use the 2.4GHz band for devices further away or those that don't require high bandwidth.
- Consider a Mesh Wi-Fi System: For larger homes or areas with Wi-Fi dead zones, a mesh Wi-Fi system can provide consistent coverage throughout your entire home.
Internet Speed Management
Understand your plan's speeds and how different activities consume bandwidth:
- Streaming: HD streaming typically requires 5-8 Mbps, while 4K streaming needs 25 Mbps or more.
- Online Gaming: While latency is often more critical than raw speed, a stable connection of 10-25 Mbps is generally sufficient.
- Video Conferencing: Upload and download speeds of 5-10 Mbps are usually adequate for clear video calls.
Regularly check your speeds to ensure they align with your plan. If consistently lower, it might be time to contact CenturyLink or consider upgrading your plan.
When to Call CenturyLink Support
While this guide aims to empower you with self-setup and troubleshooting, there are times when professional assistance is necessary. Contact CenturyLink support if:
- You encounter persistent issues that troubleshooting steps don't resolve.
- Your service was not activated after following the activation steps.
- You suspect a problem with CenturyLink's network infrastructure or wiring outside your home.
- You need to schedule a professional installation or service call.
- You wish to upgrade, downgrade, or modify your service plan.
Have your account number and details of the issue ready when you call to expedite the support process. You can typically find contact information on your CenturyLink bill or by visiting the official CenturyLink website.
Conclusion: Your Seamless CenturyLink Connection Awaits
Setting up your CenturyLink services in 2025 doesn't have to be complicated. By following this comprehensive guide, you're well-equipped to navigate the installation process for internet, TV, and phone with confidence. We've covered everything from essential pre-setup preparations and step-by-step installation guides to understanding your equipment and troubleshooting common issues. Remember the importance of a stable internet connection for Prism+ TV and the benefits of wired connections for optimal performance. Taking the time to prepare your home, understand the process, and utilize the troubleshooting tips provided will significantly enhance your experience. Should you encounter persistent challenges, don't hesitate to reach out to CenturyLink customer support. With the right approach, you'll soon be enjoying the fast, reliable connectivity that CenturyLink offers, making your digital life smoother and more enjoyable.