How To Connect Centurylink Modem?
Connecting your CenturyLink modem is a crucial first step to unlocking your home's internet potential. This comprehensive guide provides clear, step-by-step instructions, troubleshooting tips, and essential information to ensure a smooth setup, getting you online quickly and efficiently. We cover everything from unboxing to final connection.
Understanding Your CenturyLink Modem
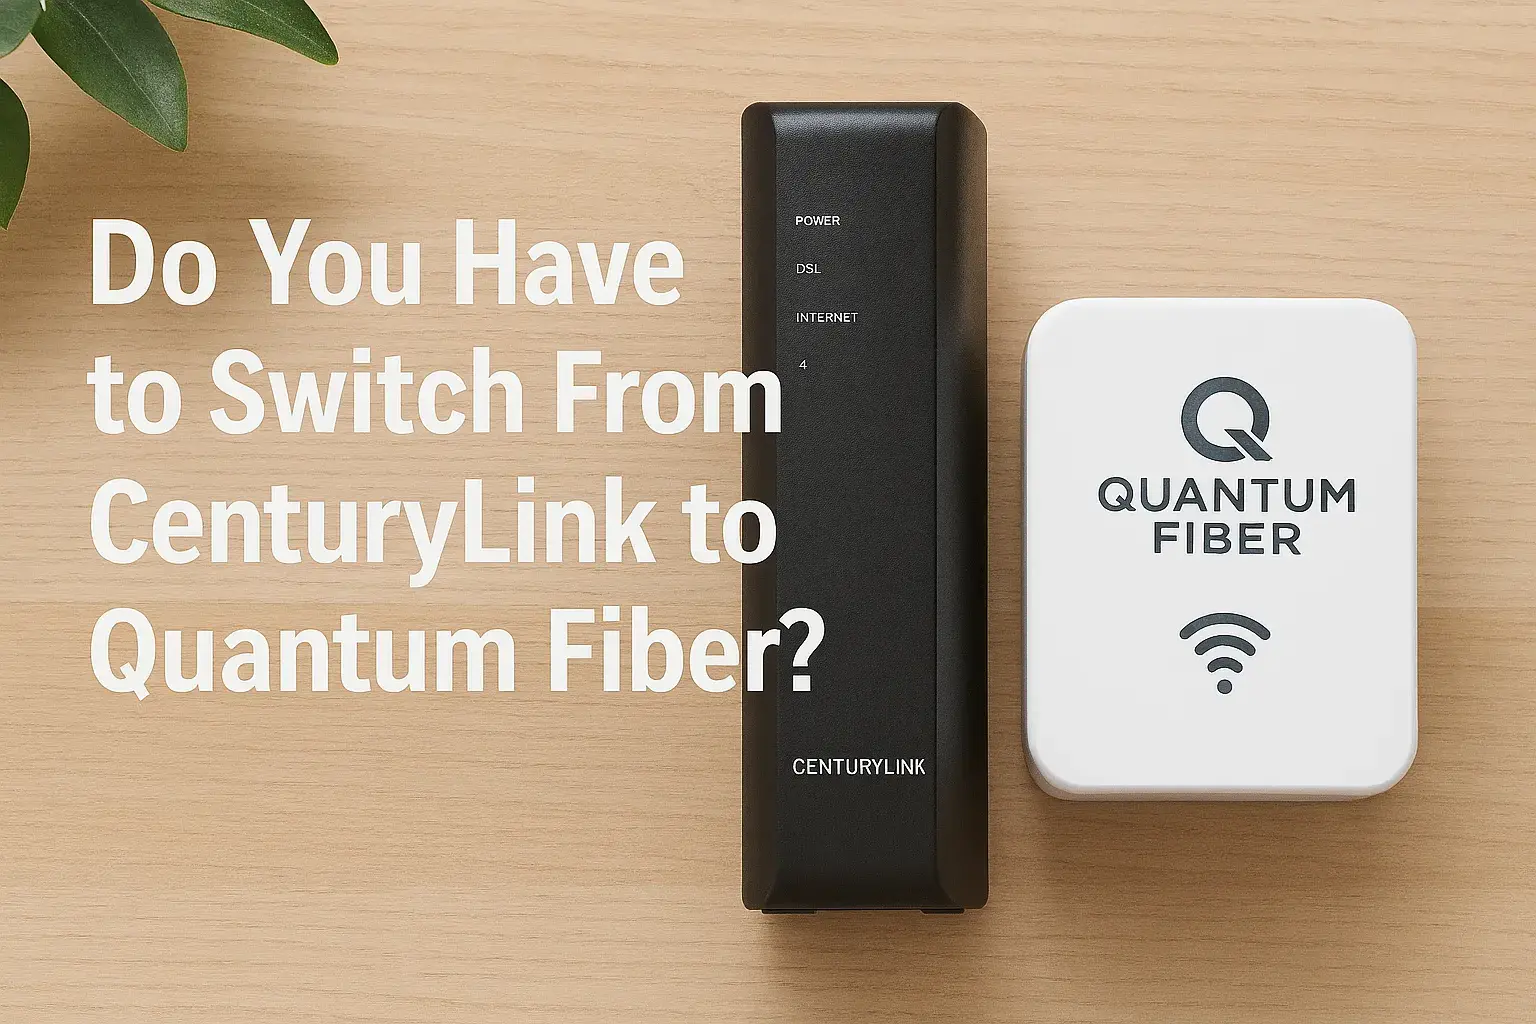
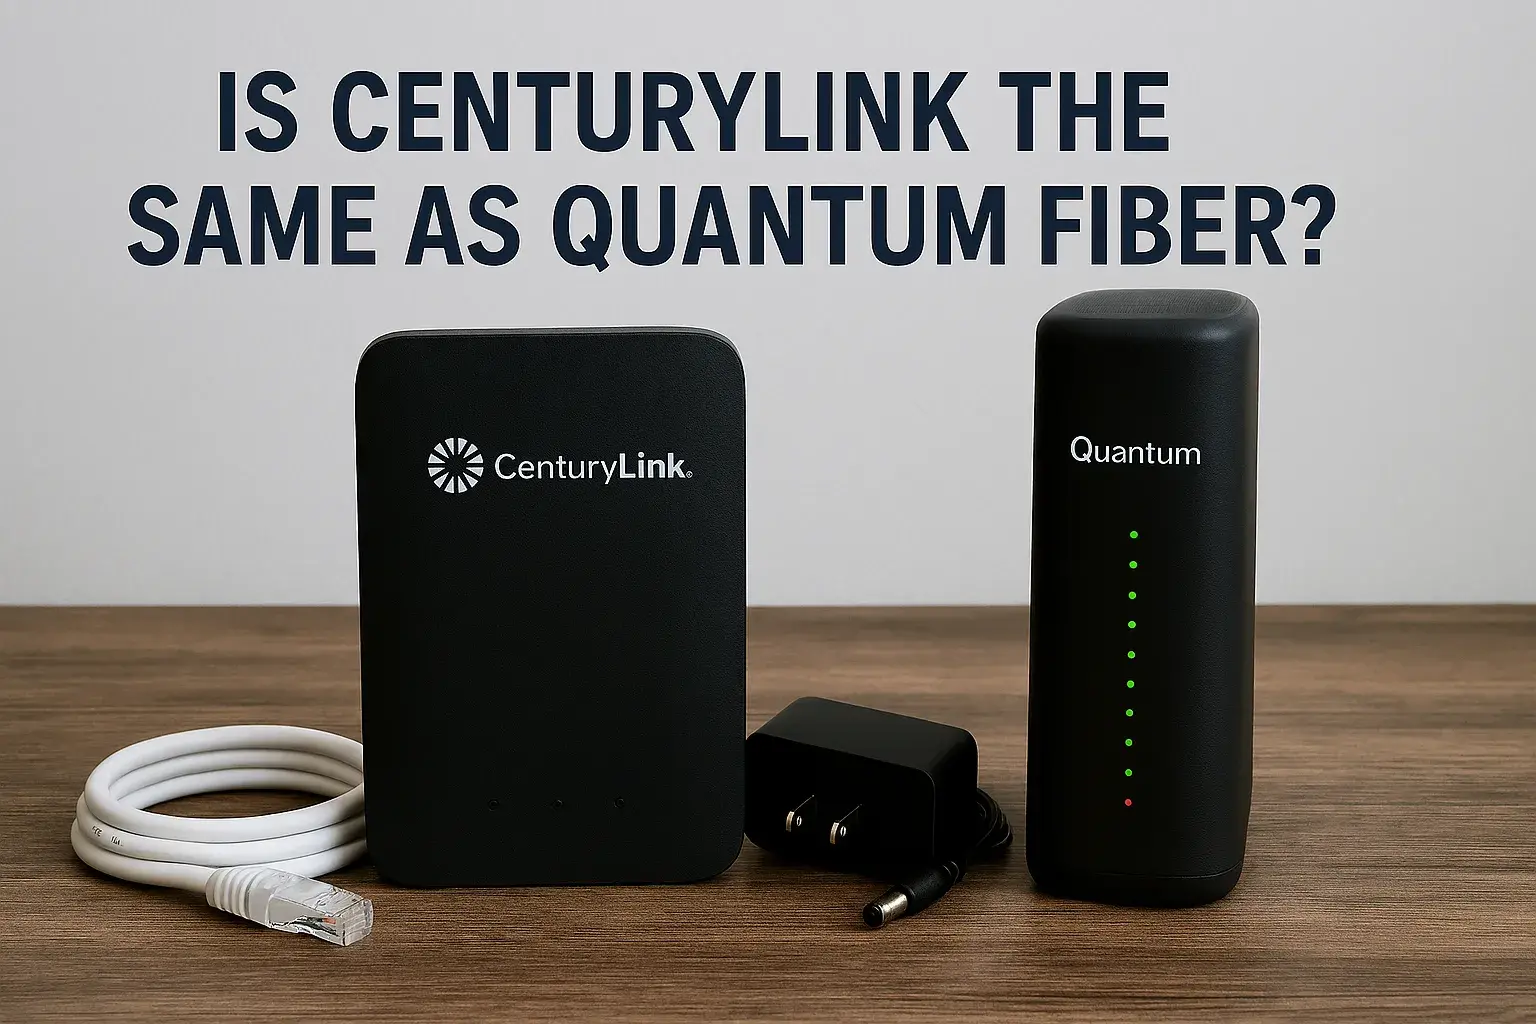
CenturyLink, now Quantum Fiber in many areas, offers various internet service types, primarily DSL and Fiber. The modem you receive will depend on your service. For DSL, it's typically a modem/router combo unit that connects to your phone line. For Fiber, you'll often receive a modem (ONT - Optical Network Terminal) and a separate router, or a combined unit. Understanding which type of service you have is the first step in correctly connecting your CenturyLink modem. In 2025, network infrastructure continues to evolve, with fiber deployments expanding rapidly. This means that while DSL is still prevalent, the future of high-speed internet with CenturyLink/Quantum Fiber is increasingly fiber-based, offering significantly higher speeds and reliability.
The modem's primary role is to translate the incoming internet signal from your provider into a format your home network can understand. If you have a combo unit, it also acts as a router, creating your Wi-Fi network and managing traffic between your devices and the internet. If you have a separate modem and router, the modem handles the signal translation, and the router broadcasts your Wi-Fi and manages your local network. Knowing this distinction is key to following the correct setup procedures.
What You'll Need Before You Start
Before you begin the physical connection process, gather these essential items. Having everything ready will streamline the setup and minimize frustration. By 2025, most users will have a standard set of tools, but it's always good to double-check.
- Your CenturyLink Modem/Router: This is the primary device provided by CenturyLink. Ensure it's the correct model for your service type.
- Power Adapter: The modem will come with a specific power adapter. Do not substitute it with another adapter, as incorrect voltage can damage the device.
- Ethernet Cables: You'll likely need at least two Ethernet cables. One to connect the modem to the wall jack (phone line for DSL, or potentially to an ONT for fiber) and another to connect the modem to a computer for initial setup or to a separate router.
- Coaxial Cable (if applicable): For some cable internet services, a coaxial cable might be used instead of a phone line. CenturyLink's primary offerings are DSL and Fiber, so this is less common for their core services but worth noting if you have a mixed-service area.
- Phone Line/Wall Jack (for DSL): Ensure you have a functional phone jack near where you want to place your modem.
- Optical Network Terminal (ONT) (for Fiber): If you have fiber service, you might have a separate ONT box installed by the technician. The modem will connect to this.
- Computer or Smartphone: You'll need a device to access the modem's setup interface. A computer connected via Ethernet is often recommended for initial setup.
- Your CenturyLink Account Information: This might include your username and password, though often the modem is pre-configured for basic activation.
- A Pen and Paper (or digital note-taking app): To jot down your new Wi-Fi network name (SSID) and password.
Having a clear, central location for your modem is also advisable. This ensures good Wi-Fi signal distribution throughout your home and easy access for any necessary resets or cable management. For 2025, consider the placement in relation to your most-used devices and potential future smart home integrations.
Step-by-Step Connection Guide
This section breaks down the physical and initial configuration steps for connecting your CenturyLink modem. Follow these instructions carefully to get your internet up and running.
Unboxing and Identification
Carefully open the box containing your CenturyLink modem. Inside, you should find the modem itself, a power adapter, and possibly Ethernet cables and a phone cable. Take a moment to identify each component. Look for labels on the modem that indicate the model number, serial number, and default Wi-Fi network name (SSID) and password. These are often found on a sticker on the bottom or back of the device. In 2025, these details are crucial for initial login and troubleshooting.
Example: If your modem is a CenturyLink C2100T, the sticker might show "SSID: CenturyLink_XXXX" and "Password: YYYYYYYYYY". Keep this information handy.
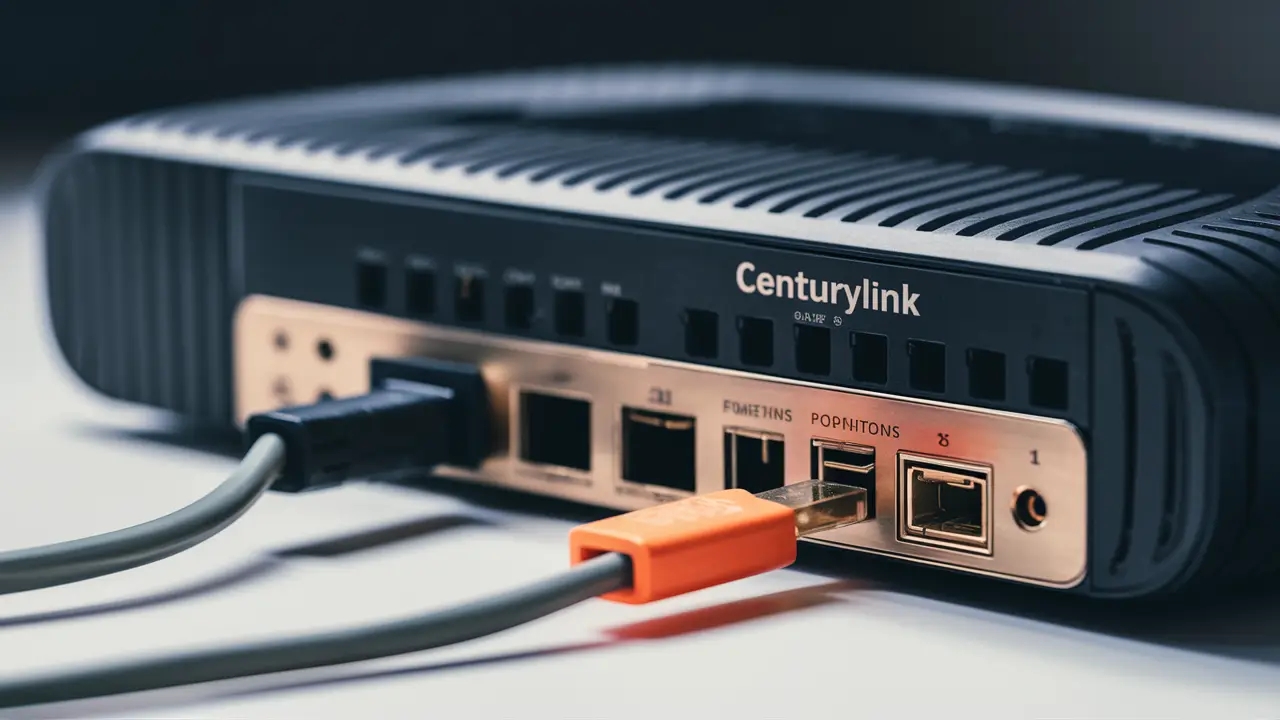
Physical Connections
This is where the actual connection to your internet service happens. The exact steps depend on whether you have DSL or Fiber service.
For DSL Service:
- Locate the DSL Port: On the back of your modem, find the port labeled "DSL," "WAN," or a phone jack symbol.
- Connect the Phone Cable: Plug one end of the phone cable into this DSL port and the other end into a working phone jack in your wall. It's recommended to use the jack closest to where your main phone line enters the house.
- Avoid Splitters: If you use your phone line for voice calls, do not connect the modem through a phone splitter if possible. This can interfere with the internet signal. If you must use a splitter, ensure it's a DSL-rated filter.
For Fiber Service (Quantum Fiber):
- Locate the WAN/Internet Port: On your modem/router combo, find the port labeled "WAN" or "Internet." This is usually a different color (often blue or yellow) than the LAN ports.
- Connect to the ONT: If you have a separate ONT (Optical Network Terminal) box installed by the technician, connect an Ethernet cable from the ONT's data port to the WAN/Internet port on your CenturyLink modem/router.
- Direct Fiber Connection (less common for user setup): In some advanced setups, the fiber optic cable might connect directly to a specialized port on the modem, but this is typically handled by the installation technician.
Important Note for 2025: As fiber networks become more sophisticated, the ONT is often integrated into the wall or a small box. Ensure you are connecting to the correct output from this device.
Powering Up and Initial Boot
Once all physical connections are made, it's time to power on the modem.
- Connect the Power Adapter: Plug the provided power adapter into the modem's power port and then into a wall electrical outlet.
- Wait for Boot-Up: The modem will begin its boot-up sequence. This can take anywhere from 2 to 10 minutes. During this time, various lights on the front of the modem will flash and then stabilize.
- Observe the Lights: Pay attention to the indicator lights. You're looking for lights that signify power, a stable connection to CenturyLink's network (often labeled "Online," "Internet," or a globe icon), and Wi-Fi activity. The specific sequence and meaning of lights vary by model, but a solid "Online" or "Internet" light is a good sign.
If the lights do not indicate a stable connection after 10 minutes, refer to the troubleshooting section. For 2025, modem boot times are generally faster due to improved hardware.
Router Connection (If Applicable)
If you have a separate modem and router, or if you're replacing CenturyLink's provided router with your own, follow these steps:
- Connect Modem to Router: Use an Ethernet cable to connect the modem's LAN port (usually labeled "LAN" or numbered 1, 2, 3, 4) to the router's WAN or Internet port.
- Power On Router: Connect the power adapter to your router and plug it into an electrical outlet.
- Wait for Boot-Up: Allow the router a few minutes to boot up.
This setup is common for users who want more advanced router features or better Wi-Fi coverage than a combined modem/router unit provides. In 2025, many users opt for mesh Wi-Fi systems, which would connect to the CenturyLink modem/router in a similar fashion.
Accessing Modem Settings
To configure your Wi-Fi network and other settings, you'll need to access the modem's web-based interface.
- Connect a Computer: Connect a computer to the modem using an Ethernet cable. Plug one end into one of the modem's LAN ports and the other into your computer's Ethernet port. Alternatively, if your Wi-Fi is already broadcasting (even with default settings), you can connect wirelessly.
- Open a Web Browser: Launch your preferred web browser (e.g., Chrome, Firefox, Safari, Edge).
- Enter the Gateway IP Address: In the address bar, type the modem's default IP address. This is often 192.168.0.1 or 192.168.1.1. You can usually find this address on the modem's sticker or in its manual.
- Enter Login Credentials: You'll be prompted for a username and password. These are also typically found on the modem's sticker or in the manual. Common defaults include "admin" for both username and password, or "admin" and "password."
- Navigate to Settings: Once logged in, you'll see the modem's administrative interface. Look for sections related to "Wireless," "Wi-Fi," or "Network Settings."
For 2025, security is paramount. If you are prompted to change the default password immediately upon login, do so for security. This prevents unauthorized access to your network.
Wireless Setup and Security
This is a critical step to ensure your home network is both functional and secure.
- Change Wi-Fi Network Name (SSID): Within the modem's settings, find the option to change your Wi-Fi network name. Choose a name that is unique and easily identifiable but doesn't reveal personal information.
- Set a Strong Password: The most important step is to set a strong, unique password for your Wi-Fi network. Use a combination of uppercase and lowercase letters, numbers, and symbols. Avoid common words or easily guessable information.
- Choose Security Protocol: Ensure your Wi-Fi security is set to WPA2 or WPA3 (if available). WPA3 is the latest and most secure standard, prevalent in 2025 devices. Avoid WEP or WPA, as these are outdated and insecure.
- Save Settings: After making changes, click "Save" or "Apply." The modem may restart, and your Wi-Fi network will disappear and reappear with the new name and password.
- Reconnect Devices: Connect all your wireless devices (smartphones, tablets, laptops, smart TVs, etc.) to your new Wi-Fi network using the new password.
Example of Strong Password: `MyH0meN3t!2025`
By securing your Wi-Fi, you prevent unauthorized users from accessing your internet, which can slow down your connection and compromise your privacy. For 2025, with the proliferation of IoT devices, strong Wi-Fi security is more important than ever.
Troubleshooting Common Issues
Even with careful setup, you might encounter problems. Here are solutions to common issues encountered when connecting your CenturyLink modem.
No Internet Connection
This is the most frustrating issue. Start with the basics:
- Check Modem Lights: Ensure the "Power" and "Online" or "Internet" lights are solid. If the "Online" light is off or blinking, there's a problem with the signal reaching your modem.
- Verify Physical Connections: Double-check that all cables (phone line/Ethernet to ONT, power) are securely plugged in.
- Restart the Modem: Unplug the power adapter from the modem, wait 30 seconds, and plug it back in. Allow 5-10 minutes for it to boot up and re-establish a connection.
- Check for Service Outages: Visit the CenturyLink website or contact customer support to see if there are any reported outages in your area.
- Test with a Direct Connection: If you're using a separate router, bypass it by connecting a computer directly to the CenturyLink modem via Ethernet. If you get internet this way, the issue is likely with your router.
- Test Phone Jack (DSL): If you have DSL, try plugging the modem into a different phone jack in your home to rule out a faulty jack.
- Contact CenturyLink Support: If none of these steps resolve the issue, it's time to contact CenturyLink's technical support. They can check the line status from their end.
Slow Internet Speeds
If your internet is connected but sluggish, consider these factors:
- Run a Speed Test: Use a reliable speed test website (e.g., Speedtest.net, Fast.com) to measure your current download and upload speeds. Compare these to the speeds you are supposed to receive from your CenturyLink plan.
- Check Wi-Fi Signal Strength: Weak Wi-Fi signals can lead to slow speeds. Try moving closer to the modem or consider a Wi-Fi extender or mesh system.
- Too Many Devices: If many devices are actively using the internet simultaneously (streaming, downloading, gaming), it can saturate your bandwidth.
- Modem Placement: Ensure the modem is in a central, open location, away from obstructions like thick walls, metal objects, or other electronics that can cause interference.
- Outdated Equipment: Older modems or routers may not support the full speeds of your internet plan. Check if your modem is rated for your current plan's speeds. For 2025, ensure your equipment supports at least Wi-Fi 5 (802.11ac) or Wi-Fi 6 (802.11ax) for optimal performance.
- DSL Line Quality: For DSL, the quality of your phone line and the distance from the CenturyLink central office significantly impact speeds.
- Router Settings: If using your own router, ensure its firmware is up to date and it's configured correctly.
- Contact CenturyLink: If speeds are consistently below your plan's advertised rates even after troubleshooting, contact CenturyLink.
Wi-Fi Connectivity Problems
Devices are not connecting to your Wi-Fi, or connections are dropping:
- Check Wi-Fi Lights: Ensure the Wi-Fi indicator light on your modem is on.
- Verify Network Name and Password: Double-check that you are trying to connect to the correct network name (SSID) and entering the password exactly as set, paying attention to case sensitivity.
- Restart Modem and Router: Power cycling both devices can often resolve temporary glitches.
- Distance and Obstructions: Move closer to the modem or remove potential sources of interference.
- Too Many Devices: Some older modems have a limit on the number of devices they can support simultaneously.
- Channel Interference: In crowded areas, Wi-Fi channels can become congested. Accessing your modem's settings allows you to change the Wi-Fi channel. Look for an "Auto" setting or try channels 1, 6, or 11 for 2.4GHz networks.
- Device Issues: Try connecting another device to see if the problem is with the specific device or the network.
- Factory Reset: As a last resort, you can perform a factory reset on your modem (usually by pressing a small reset button for 10-30 seconds). This will revert all settings to default, so you'll need to reconfigure your Wi-Fi.
Modem Lights Explained
Understanding the indicator lights on your CenturyLink modem is crucial for diagnosing issues. While specific lights vary by model, here are common ones:
| Light Name | Typical Color(s) | Status | Meaning |
|---|---|---|---|
| Power | Solid Green/Blue | On | Modem is receiving power. |
| DSL/Link/Online | Solid Green/Blue | On | A stable connection to the CenturyLink network has been established. |
| DSL/Link/Online | Blinking Green/Blue | Blinking | Modem is trying to establish a connection or sync with the network. |
| DSL/Link/Online | Off | Off | No DSL signal detected or connection issue. |
| Internet/WAN | Solid Green/Blue | On | Internet connection is active and ready. |
| Internet/WAN | Blinking Green/Blue | Blinking | Data is being transmitted or received. |
| Internet/WAN | Off | Off | No internet connection from the provider. |
| Wi-Fi/WLAN | Solid Green/Blue | On | Wi-Fi network is broadcasting. |
| Wi-Fi/WLAN | Blinking Green/Blue | Blinking | Wireless activity (data being transmitted/received). |
| Ethernet (LAN Ports) | Solid Green/Blue | On | A device is connected via Ethernet cable. |
| Ethernet (LAN Ports) | Blinking Green/Blue | Blinking | Data is being transmitted/received through the Ethernet port. |
For 2025, modern modems often have more sophisticated LED indicators or even mobile app diagnostics, but these basic lights remain fundamental.
Advanced Settings and Features
Once your modem is connected and working, you might want to explore its advanced settings for greater control and customization.
Changing Wi-Fi Name and Password
As covered in the setup, this is the most common advanced setting. You'll typically find these options under a "Wireless" or "Wi-Fi" menu. It's crucial to change the default credentials for security. Modern routers in 2025 often support dual-band (2.4GHz and 5GHz) Wi-Fi, allowing you to set separate SSIDs and passwords for each band, potentially improving performance for different devices.
Port Forwarding
Port forwarding allows you to direct incoming internet traffic to a specific device on your local network. This is often necessary for online gaming, hosting servers, or accessing certain applications remotely. You'll need to know the device's IP address and the specific ports required by the application. This is usually found in a "Port Forwarding" or "NAT" (Network Address Translation) section of your modem's settings.
Example: If you're setting up a game server, you might need to forward ports 25565 (TCP/UDP) to the IP address of the computer running the server.
DMZ Setup
DMZ (Demilitarized Zone) is a security feature that exposes a specific device on your network directly to the internet, bypassing most of the modem's firewall. This is generally not recommended for everyday use due to security risks, but it can be a last resort for troubleshooting applications that have trouble with port forwarding. If you set up a DMZ, ensure the device is well-protected with its own firewall and security software. In 2025, with increased cyber threats, using DMZ should be done with extreme caution.
Firmware Updates
Firmware is the software that runs on your modem. Manufacturers periodically release updates to improve performance, fix bugs, and patch security vulnerabilities. Many modern modems, especially those from 2025, can automatically check for and install firmware updates. If not, you may find an option in the modem's settings to check for and apply updates manually. Keeping your modem's firmware up-to-date is essential for security and optimal performance.
Choosing the Right Modem or Router
While CenturyLink provides modems, sometimes you may need to purchase your own, especially if you're not satisfied with the provided equipment or if you have specific needs. When choosing a modem or router in 2025:
- Compatibility: Ensure the modem is compatible with CenturyLink's network technology (DSL or Fiber) and your specific service plan. For DSL, check the modem's supported DSL standards (e.g., ADSL2+, VDSL2). For Fiber, compatibility is usually less of an issue with user-purchased routers, but the modem (ONT) is typically provider-specific.
- Speed Support: The modem should be capable of handling the maximum speeds of your internet plan.
- Wi-Fi Standards: For routers, look for Wi-Fi 6 (802.11ax) or Wi-Fi 6E for the best performance, especially if you have many devices or high-speed internet. Wi-Fi 5 (802.11ac) is still a good option.
- Features: Consider features like dual-band or tri-band Wi-Fi, MU-MIMO technology, Quality of Service (QoS) settings, and parental controls if they are important to you.
- Mesh Wi-Fi Systems: For larger homes or areas with Wi-Fi dead spots, a mesh Wi-Fi system offers superior coverage and seamless roaming compared to traditional routers or extenders.
Always check CenturyLink's approved modem list if you plan to use your own equipment to ensure it will work with their network. This is particularly important for DSL service.
CenturyLink Service Types and Their Impact on Setup
CenturyLink offers different types of internet service, and the setup process can vary slightly:
- DSL (Digital Subscriber Line): This service uses existing telephone lines. The setup involves connecting the modem to a phone jack. Speeds are dependent on your distance from the local CenturyLink exchange. In 2025, DSL speeds are generally lower than fiber but are still a viable option in many areas.
- Fiber (Quantum Fiber): This is CenturyLink's high-speed internet offering. It uses fiber optic cables to deliver data. Setup typically involves an ONT (Optical Network Terminal) installed by a technician, and then connecting your modem/router to the ONT. Fiber offers significantly higher speeds and lower latency, making it ideal for demanding applications and future-proofing your home network.
- Fixed Wireless: In some rural areas, CenturyLink may offer fixed wireless internet. This involves a small antenna installed at your home that communicates with a local tower. Setup for this is usually handled by a technician.
The most common scenarios for self-setup are DSL and connecting a router to a provided fiber ONT. Understanding your service type is key to following the correct connection steps.
Conclusion
Connecting your CenturyLink modem is a straightforward process when approached systematically. By understanding your equipment, gathering the necessary tools, and following the step-by-step guide, you can establish a stable internet connection quickly. Remember to prioritize security by changing your default Wi-Fi password and network name. Should you encounter any issues, the troubleshooting section provides solutions for common problems, from no internet access to slow speeds and Wi-Fi connectivity woes. For 2025, with increasing reliance on stable internet for work, education, and entertainment, a properly configured modem is more critical than ever. If you've followed these steps and are still experiencing difficulties, don't hesitate to contact CenturyLink support. With your modem successfully connected, you're ready to enjoy the full benefits of your CenturyLink internet service.