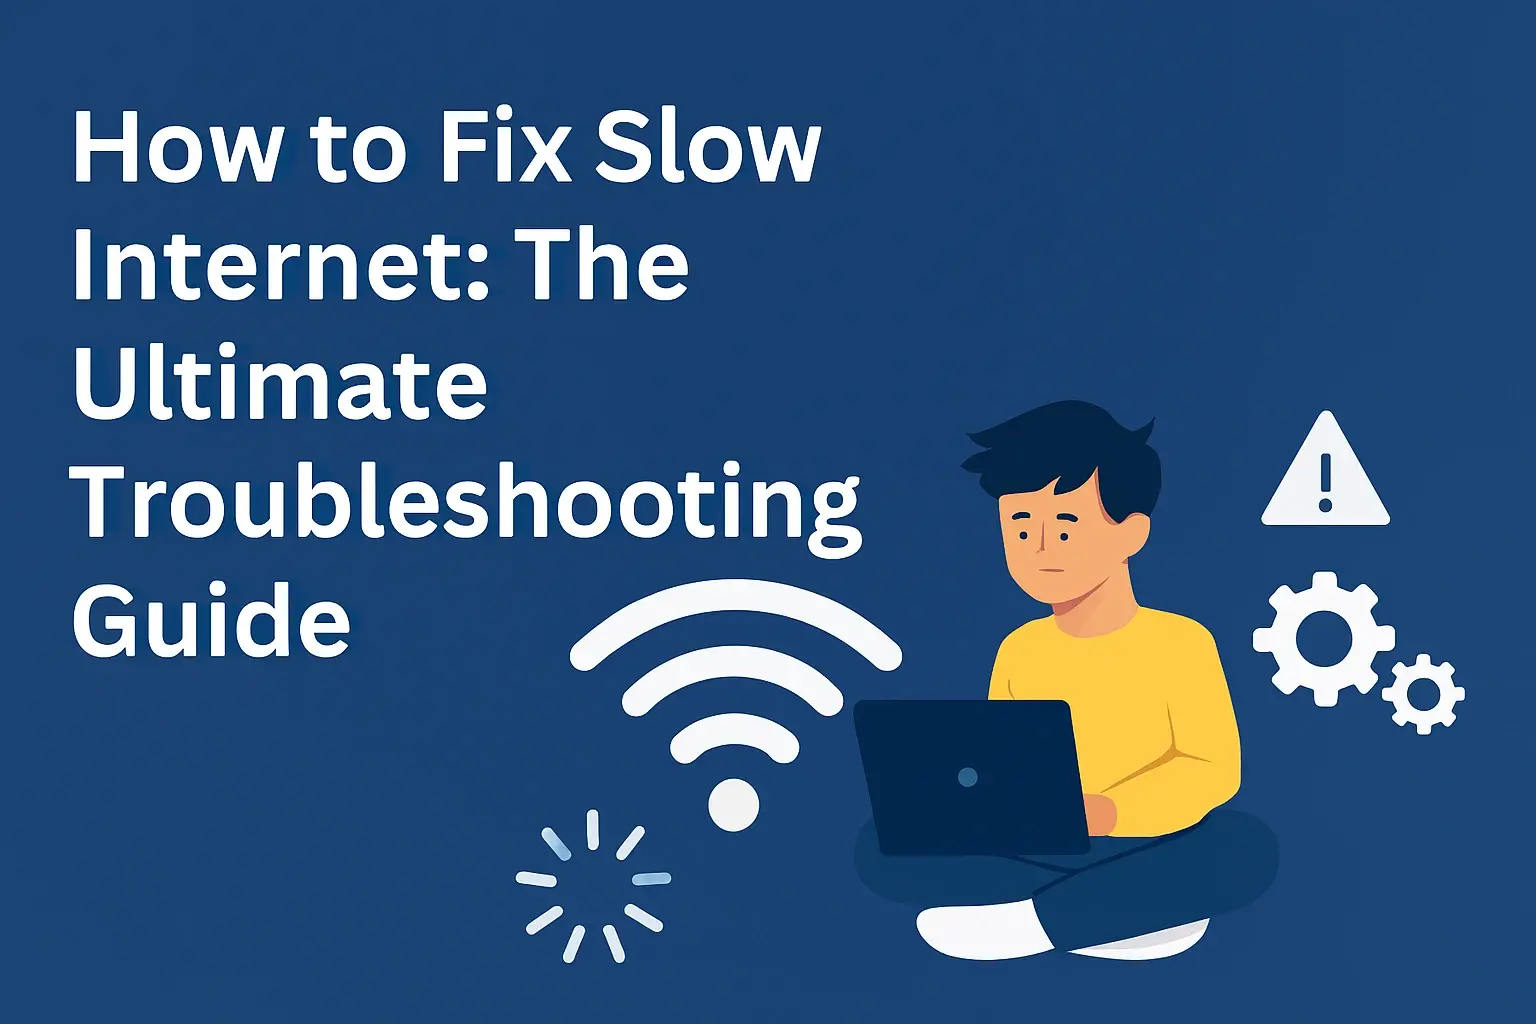
How do they install fiber-optic internet to your house?
Wondering how that lightning-fast fiber-optic internet gets from the network to your home? This comprehensive 2025 guide breaks down the entire installation process, from the initial survey to the final connection. Understand what to expect, how technicians work, and how to prepare for a seamless fiber setup that unlocks incredible speeds.
Table of Contents
Understanding Fiber Optics: Why It Matters for Your Internet Speed
Fiber-optic internet is the gold standard for high-speed connectivity in 2025. Unlike traditional copper cables that transmit data as electrical signals, fiber optics use thin strands of glass or plastic to send data as pulses of light. This fundamental difference allows for significantly higher bandwidth, lower latency, and greater reliability.
The demand for faster, more stable internet has surged with the rise of 4K streaming, cloud gaming, remote work, and the ever-increasing number of connected devices in our homes. Fiber optics are perfectly positioned to meet these demands, offering symmetrical download and upload speeds that are often unattainable with cable or DSL.
So, how does this advanced technology make its way from the provider's network to your living room? Let's dive into the intricate process.
Pre-Installation: The Crucial First Steps Before Digging Starts
Before any physical work begins at your property, a series of essential steps ensure a smooth and compliant installation. This phase is critical for both the provider and the homeowner.
1. Serviceability Check and Order Placement
The first step is confirming that fiber optic service is available in your area and at your specific address. You'll typically do this through the internet service provider's (ISP) website or by calling their sales department. Once confirmed, you'll place an order for the service, selecting a plan that best suits your needs.
Key takeaway: Always verify availability before committing to a service.
2. Site Survey and Design
In many cases, especially for new fiber deployments or complex installations, a technician or surveyor will visit your property. They assess the best route for the fiber optic cable from the nearest network point (often a utility pole or underground box) to your home. This involves:
-
Identifying potential obstacles (trees, driveways, existing landscaping).
-
Determining the optimal entry point into your house.
-
Planning the most efficient and least disruptive path for the cable.
-
Ensuring compliance with local regulations and utility easements.
This survey helps create a detailed plan for the installation crew.
3. Permitting and Utility Locates
For any work that involves digging or trenching, especially in public right-of-ways, the ISP must obtain necessary permits from local authorities. Additionally, they are legally required to contact utility locating services (like 811 in the US) to mark the location of existing underground utilities (gas, water, electricity, other communication lines). This is a vital safety step to prevent accidental damage.
Actionable tip: Be present during the site survey if possible to voice any concerns about landscaping or specific entry points.
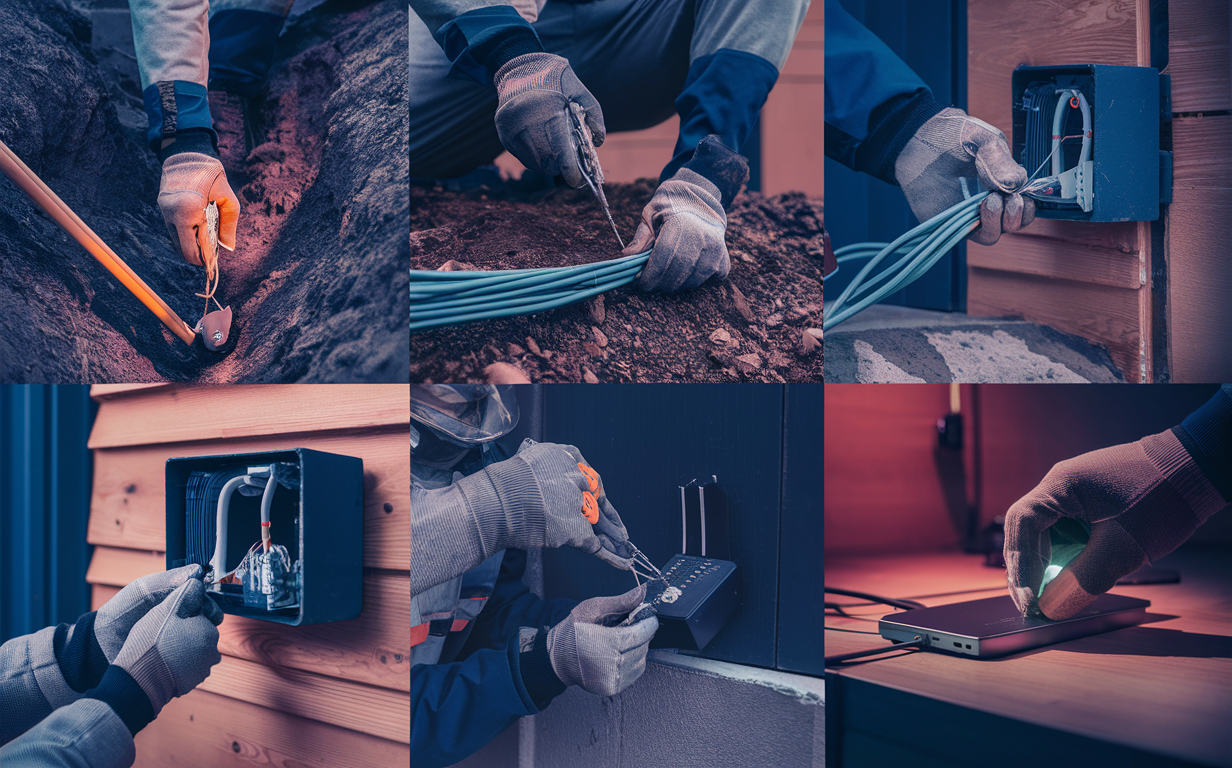
The Fiber Optic Installation Journey: Step-by-Step Outside Your Home
This is where the magic of bringing fiber to your doorstep happens. The process typically involves extending the fiber network from the main infrastructure to your property line and then to your house.
1. Extending the Fiber Network
Fiber optic cables are usually run underground or overhead on utility poles.
-
Overhead Installation: If your neighborhood has existing utility poles, technicians will attach a new fiber optic cable to these poles, running it along the street and eventually towards your house. This is often faster and less disruptive than underground installation.
-
Underground Installation: This involves trenching or plowing a narrow ditch to lay conduit or directly bury the fiber optic cable. This method is more aesthetically pleasing as it hides the cables, but it requires more extensive work and can be weather-dependent. Micro-trenching, a newer technique, uses specialized equipment to cut very narrow trenches, minimizing surface disruption.
2. Bringing Fiber to Your Property Line
Once the main fiber line is in place, a smaller cable is run from the nearest connection point (e.g., a pedestal on the street or a junction box) to the edge of your property. This might involve further trenching or aerial work.
3. The Drop Cable Installation
This is the final segment of the outdoor installation. A technician will run a "drop cable" from the demarcation point at your property line (where the ISP's responsibility ends and yours begins) to the designated entry point of your home.
-
Drilling: A small hole is drilled through an exterior wall of your house. The location is typically pre-determined during the site survey, often in a basement, crawl space, or utility room.
-
Cable Routing: The fiber drop cable is carefully fed through this hole into your home.
-
Securing: The cable is then secured on the exterior of your house to prevent damage and maintain its integrity.
Note: In some cases, especially with underground installations to the house, a small conduit might be installed first, and the fiber pulled through it.
Inside Your Home: The Final Connections for Seamless Connectivity
Once the fiber drop cable is inside, the installation focuses on connecting your home network to the fiber line.
1. Installing the Optical Network Terminal (ONT)
The fiber optic cable terminates at a device called an Optical Network Terminal (ONT). This box is the crucial bridge between the light signals from the fiber and the electrical signals your home network devices understand.
-
The ONT is typically mounted on an interior wall.
-
It receives the fiber optic cable and converts the light signals into data.
-
It then outputs this data via Ethernet or coaxial cable connections.
The ONT requires a power source, so it's usually installed near an electrical outlet.
2. Connecting Your Router
From the ONT, an Ethernet cable connects to your home's router. This router then distributes the internet connection throughout your home via Wi-Fi or additional Ethernet ports.
-
ISP-Provided Router: Many ISPs provide a modem/router combo unit that includes the ONT functionality or connects directly to the ONT.
-
Your Own Router: If you prefer to use your own high-performance router, you'll connect it to the ONT's Ethernet port.
Important consideration: The placement of the ONT and router can impact Wi-Fi signal strength. Discuss optimal placement with your installer.
3. Testing and Activation
After all physical connections are made, the technician will activate your service with the ISP. This involves testing the connection to ensure it's working correctly and performing at the speeds you've subscribed to. They will typically run speed tests and check for any signal issues.
What to Expect on Installation Day: Your Checklist for Success
A successful fiber installation relies on good preparation and clear communication. Here's what you can anticipate and how to be ready.
Before the Technician Arrives:
-
Clear Access: Ensure the technician has clear access to the exterior of your home, the planned entry point, and the area where the ONT and router will be installed. Remove any obstructions like plants, furniture, or storage.
-
Pet Safety: Keep pets secured in a separate room or crate to prevent them from interfering with the work or escaping.
-
Children Safety: Ensure children are supervised and kept away from the work area.
-
Clear Path for Cable: If you have specific preferences for the cable's path inside your home (e.g., along baseboards), communicate this clearly.
-
Confirm Placement: Have a clear idea of where you want the ONT and router to be located. Consider Wi-Fi coverage needs.
During the Installation:
-
Duration: A standard residential fiber installation typically takes 2 to 4 hours, but this can vary depending on the complexity of the job, weather conditions, and the ISP's procedures.
-
Communication: Don't hesitate to ask the technician questions about the process, the equipment, or any concerns you have.
-
Supervision: While not always necessary, it's good practice to be present or have an adult present during the installation to oversee the work and approve final placements.
-
Potential Disruption: Be prepared for some noise and minor disruption as the technician drills holes or works with tools.
After the Installation:
-
Demonstration: The technician should demonstrate how to use the equipment and ensure your internet is working before they leave.
-
Clean-up: Reputable installers will clean up any debris generated during the installation.
-
Documentation: Keep any paperwork provided by the ISP regarding your new service and equipment.
Pro Tip: Have your Wi-Fi network name (SSID) and password ready if you're using your own router.
Post-Installation: Optimizing Your Blazing-Fast Fiber Connection
Congratulations! You've got fiber. Now, let's ensure you're getting the most out of it.
1. Test Your Speeds
Use reputable online speed test tools (e.g., Speedtest.net, Fast.com) connected directly to your router via Ethernet cable to verify you're receiving the speeds you're paying for. Test at different times of the day to gauge consistency.
2. Optimize Wi-Fi Performance
Even with fiber, Wi-Fi can be a bottleneck. Consider these tips for optimal wireless performance:
-
Router Placement: Position your router in a central, open location, away from obstructions like thick walls, metal objects, and other electronics that can cause interference.
-
Mesh Wi-Fi Systems: For larger homes or areas with weak signals, a mesh Wi-Fi system can extend coverage seamlessly.
-
Channel Selection: If your router allows, experiment with different Wi-Fi channels to find the least congested one.
-
Firmware Updates: Ensure your router's firmware is up-to-date for the best performance and security.
3. Understand Your Equipment
Familiarize yourself with your ONT and router. Know how to reboot them if necessary and understand their status lights.
4. Security Best Practices
Change the default Wi-Fi password and network name (SSID) immediately. Use a strong, unique password. Enable WPA3 encryption if your router supports it.
Action: Regularly monitor your internet performance and reach out to your ISP if you experience consistent issues.
Fiber vs. Other Technologies: A 2025 Snapshot of Installation & Performance
Understanding how fiber installation differs from older technologies highlights its advantages.
|
Feature |
Fiber Optic Installation |
Cable Internet Installation |
DSL Internet Installation |
|---|---|---|---|
|
Technology |
Glass/plastic strands transmitting light pulses. |
Coaxial cable transmitting electrical signals. |
Telephone lines transmitting electrical signals. |
|
Outdoor Work |
Often requires new trenching/pole attachment for fiber optic cables. Can be more involved for new deployments. |
Leverages existing coaxial cable infrastructure. Installation usually involves connecting to an existing tap. |
Uses existing telephone lines. Installation typically involves connecting to the phone jack. |
|
Indoor Equipment |
Optical Network Terminal (ONT) required. |
Modem required. |
Modem required. |
|
Speed Potential |
Gigabit speeds and beyond (symmetrical upload/download). |
High download speeds, but upload speeds are significantly lower. |
Limited speeds, highly dependent on distance from the exchange. |
|
Reliability |
Highly reliable, less susceptible to interference. |
Can be affected by network congestion and signal degradation. |
Susceptible to interference and degradation over distance. |
|
Installation Time (Typical) |
2-4 hours (can vary). |
1-3 hours. |
1-2 hours. |
|
Disruption Level |
Potentially higher if new trenching is required. |
Generally low, uses existing infrastructure. |
Generally low, uses existing infrastructure. |
While fiber installation might sometimes involve more initial groundwork, especially in areas without prior fiber deployment, the long-term benefits in speed, reliability, and future-proofing are undeniable. Many ISPs are actively expanding their fiber networks in 2025, making it more accessible than ever.
Your Fast Lane to the Future: Final Thoughts on Fiber Installation
Embarking on a fiber optic internet installation is an exciting step towards a future-proofed digital home. We've illuminated the entire process, from the initial service check and meticulous site surveys to the precise outdoor cable routing and the final, crucial indoor connections involving the ONT and your router. Understanding these steps empowers you to prepare effectively for installation day, ensuring a smooth experience and minimizing potential disruptions. Remember, clear communication with your installer, proactive preparation of your home's access points, and a strategic placement of your equipment are key to unlocking the full potential of your blazing-fast fiber connection. By embracing this technology, you're not just upgrading your internet; you're investing in a more reliable, faster, and capable online experience for years to come, ready for whatever the digital world throws your way in 2025 and beyond.
Faq
Q1: How long does a typical fiber optic internet installation take?
A standard residential fiber optic internet installation typically takes between 2 to 4 hours. However, this can vary depending on factors such as the complexity of the route from the street to your home, whether new trenching is required, weather conditions, and the specific procedures of the internet service provider (ISP). Some installations might be quicker, while others requiring more extensive work could take longer.
Q2: Will fiber optic installation damage my yard or landscaping?
It's possible, especially if new trenching is required to lay the fiber optic cable underground. ISPs aim to minimize disruption, often using techniques like micro-trenching which creates very narrow cuts in the ground. If overhead installation is used, disruption is minimal. After trenching, the ISP should restore the area, but it may take time for grass or plants to fully recover. Discuss your concerns about landscaping with the technician during the site survey.
Q3: Do I need to be home for the entire fiber installation?
Yes, it is highly recommended that an adult be present for the entire duration of the fiber optic installation. You need to be there to grant access to your property, approve the cable's entry point into your home, decide on the placement of the Optical Network Terminal (ONT) and router, and to ensure the work is completed to your satisfaction. The technician will also need your authorization before drilling any holes.
Q4: What is an Optical Network Terminal (ONT) and where is it installed?
An Optical Network Terminal (ONT) is a small device that converts the light signals transmitted through the fiber optic cable into electrical signals that your home network devices can use. It's the crucial piece of equipment that bridges the fiber network to your home. The ONT is typically installed indoors, usually on an interior wall, near a power outlet. Common locations include basements, garages, utility rooms, or living areas, depending on the cable's entry point and your preference.
Q5: Can I use my own router with a fiber optic internet installation?
Absolutely! While many ISPs provide a modem/router combo unit, you generally have the option to use your own router. The fiber optic cable will connect to the Optical Network Terminal (ONT), and then an Ethernet cable will run from the ONT to your chosen router. This gives you more control over your network, potentially better Wi-Fi performance, and the ability to use specialized networking equipment if needed. Just ensure your router is compatible with the speeds you're subscribing to.
Q6: How does fiber optic installation differ from cable internet installation?
Fiber optic installation often involves bringing new fiber optic cables to your home, either underground via trenching or overhead on poles, connecting to an Optical Network Terminal (ONT). Cable internet installation typically leverages existing coaxial cable infrastructure already in place, connecting to a modem. While fiber installation can sometimes be more involved if new infrastructure is needed, it provides superior speed and reliability.