A Step-by-Step Guide to Setting Up Your New Frontier Internet Modem
Setting up your new Frontier internet modem can seem daunting, but this comprehensive guide breaks down the process into simple, actionable steps. We'll cover everything from unboxing to achieving optimal performance, ensuring you're online and enjoying your new service without hassle. Get ready for a seamless internet experience.
Unboxing and Preparation
The journey to a stable Frontier internet connection begins with careful unboxing and preparation. This initial phase ensures you have all necessary components and a clear workspace, setting the stage for a smooth setup process. Many users overlook this crucial step, leading to frustration later on. In 2025, with the increasing complexity of home networks, this foundational step is more important than ever.
What's Inside the Box?
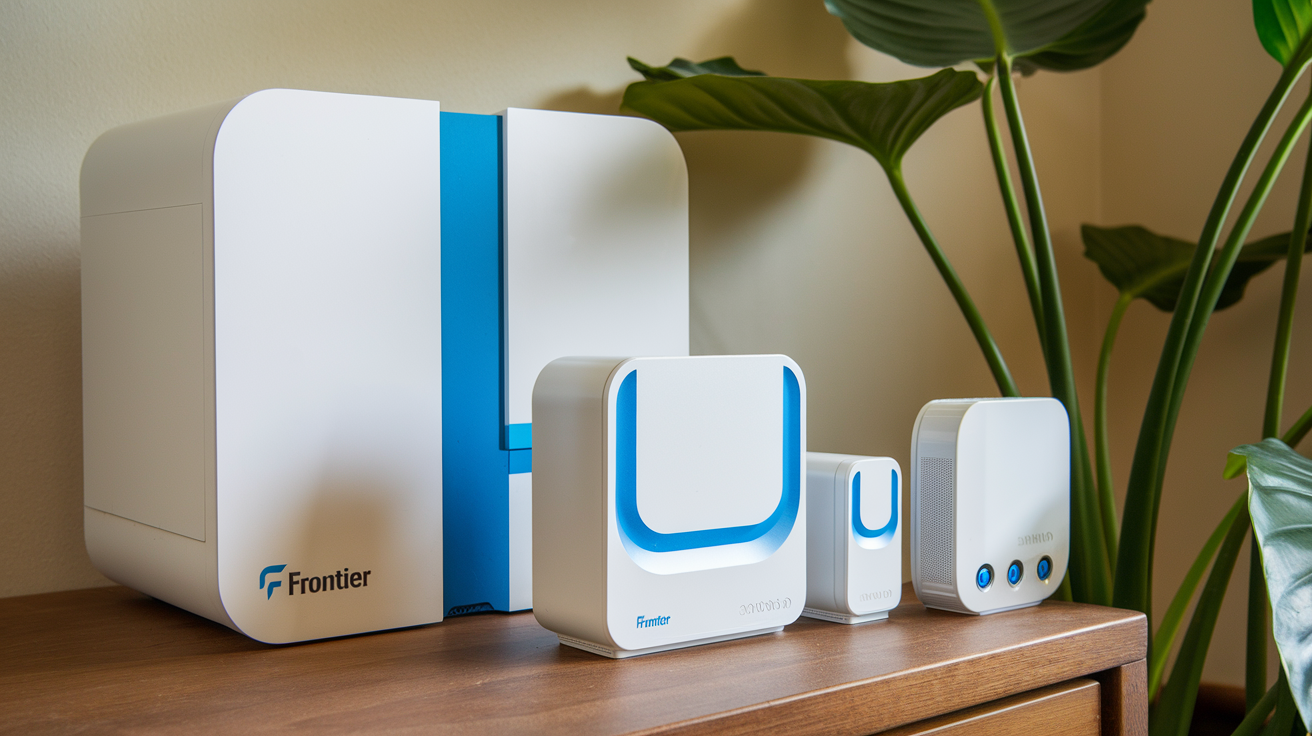
When your new Frontier modem arrives, it typically contains several essential items. It's vital to verify that you have everything before proceeding. This ensures you don't encounter missing pieces mid-setup, which can cause significant delays. Frontier's commitment to providing a complete package aims to minimize user inconvenience.
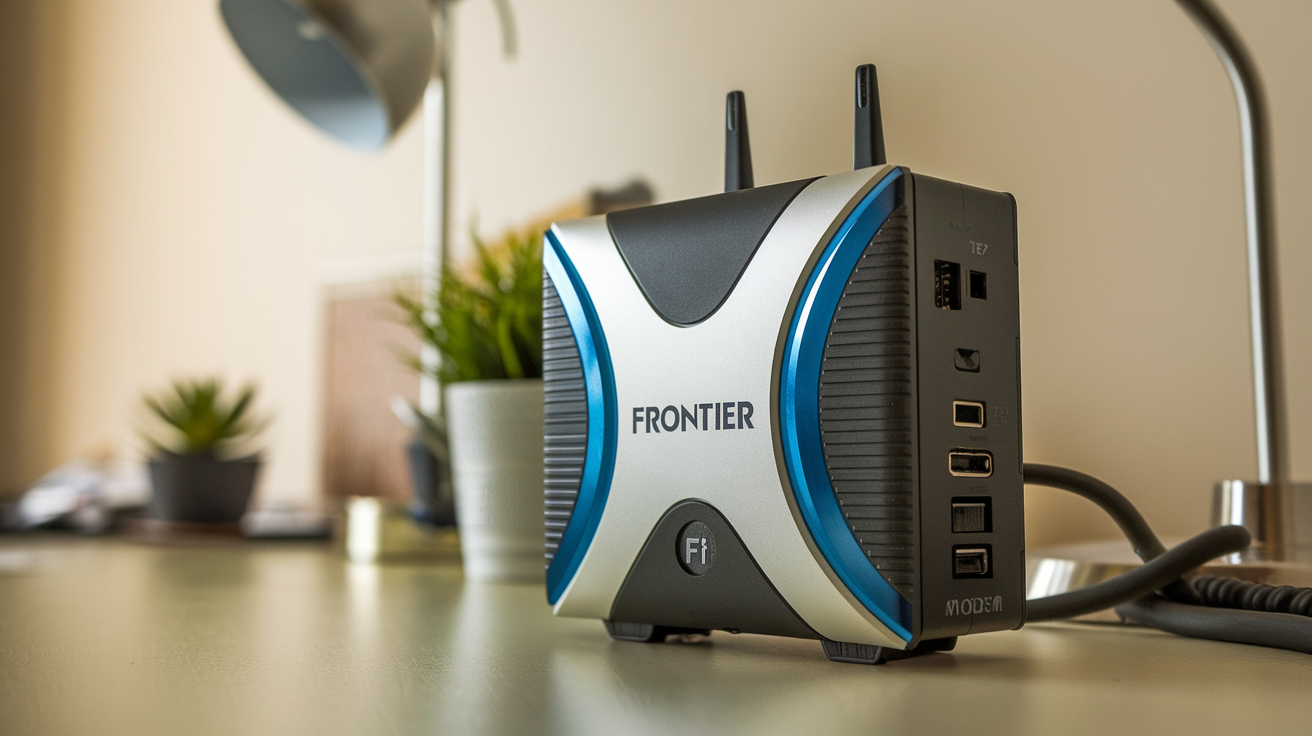
- Frontier Modem/Gateway: This is the central device that connects to Frontier's network and broadcasts your Wi-Fi signal. Depending on your service plan, this might be a standalone modem or a gateway that combines modem and router functionality.
- Power Adapter: This is specifically designed for your Frontier modem and is crucial for its operation. Using an incompatible adapter can damage the device.
- Ethernet Cable: A standard Ethernet cable (usually Cat 5e or Cat 6) is provided for connecting the modem to the wall jack or for wired device connections.
- Coaxial Cable (for DSL/Cable connections): If your service uses coaxial cable, a cable will be included to connect the modem to the wall outlet. For DSL, a phone line cable will be used.
- Setup Guide/Quick Start Manual: While this blog post aims to be your ultimate guide, the included manual offers a manufacturer's perspective and may contain specific model information.
- Warranty Information: Keep this in a safe place for future reference.
Gathering Your Tools and Information
Before you even touch the modem, ensure you have a few key items ready. This proactive approach will save you time and potential headaches.
- Location, Location, Location: Choose a central, open location for your modem. Avoid placing it in enclosed cabinets, behind large metal objects, or near other electronic devices that can cause interference (like microwaves or cordless phones). For optimal Wi-Fi coverage in 2025, consider the layout of your home and where you'll use internet the most.
- Power Outlet: Ensure there's a readily accessible power outlet near your chosen location.
- Wall Jack: Identify the correct wall jack for your internet service. This will be a coaxial cable outlet for cable internet or a phone jack for DSL. If you're unsure, consult your Frontier service agreement or contact customer support.
- Computer or Mobile Device: You'll need a device with a web browser to access the modem's configuration interface. Ensure it's charged or plugged in.
- Frontier Account Information: Have your Frontier account number and any login credentials handy, as they might be required during the setup or activation process.
Understanding Your Modem Type
Frontier offers various internet technologies, and your modem will be specific to the service you subscribe to. Understanding this distinction is key to proper setup.
- DSL Modems: These connect via a standard phone line. They are generally suitable for areas where fiber or cable isn't available. Speeds can vary significantly based on distance from the local exchange.
- Cable Modems: These connect via a coaxial cable outlet, similar to cable TV. They typically offer higher speeds than DSL and are widely available in many service areas.
- Fiber Optic (ONT): For fiber optic internet, you'll often have a separate device called an Optical Network Terminal (ONT) that converts the light signal to an electrical signal. The modem/router then connects to the ONT. In some cases, Frontier may provide a combined ONT/modem/router unit.
The setup steps are largely similar across these types, but the physical connection points will differ. Always refer to the specific instructions provided by Frontier for your particular equipment model.
Connecting the Hardware
This section details the physical connections required to get your Frontier modem up and running. Precision here is key to a successful initial boot.
Step 1: Connecting to the Internet Source
This is the most critical connection, linking your modem to Frontier's network.
- For DSL Service:
- Locate the phone jack in your home.
- Connect one end of the provided phone line cable to the DSL port on your Frontier modem.
- Connect the other end of the cable to the phone jack.
- Important Note: If you also have a landline phone service, you will need to use a DSL filter on your phone line to prevent interference between the internet and voice signals. Connect the filter to the wall jack, then plug your phone into the filter. The modem connects directly to the filter's modem port or a separate jack if available. In 2025, most installations are designed to avoid this, but it's good practice to be aware.
- For Cable Service:
- Locate the coaxial cable outlet on your wall.
- Screw one end of the coaxial cable securely into the "Cable In" or "RF In" port on the back of your Frontier modem.
- Screw the other end of the coaxial cable into the wall outlet. Ensure it's finger-tight.
- For Fiber Optic Service:
- If you have a separate ONT, connect an Ethernet cable from the "LAN" or "Ethernet" port on the ONT to the "WAN" or "Internet" port on your Frontier modem/router.
- If your Frontier device is a combined ONT/modem/router, it will likely have a specific port for the fiber optic cable. Follow the diagram provided with your equipment.
Step 2: Connecting the Power Adapter
Once the internet source is connected, it's time to power the modem.
- Plug the small end of the power adapter into the "Power" port on your Frontier modem.
- Plug the other end of the power adapter into a working electrical outlet.
Step 3: Connecting Your Computer (Optional but Recommended)
While most setups will eventually rely on Wi-Fi, connecting a computer directly via Ethernet cable during the initial setup can provide a more stable connection and simplify troubleshooting if Wi-Fi isn't immediately available.
- Take the provided Ethernet cable.
- Plug one end into one of the numbered "LAN" ports on your Frontier modem (usually ports 1, 2, 3, or 4).
- Plug the other end into the Ethernet port on your computer.
Powering Up and Initial Boot
With all physical connections made, the modem will now begin its startup sequence. This process can take several minutes as the modem establishes a connection with Frontier's network and loads its operating software.
Understanding the Modem Lights
Your Frontier modem will have a series of indicator lights on its front panel. These lights are crucial for understanding the modem's status. While the exact configuration varies by model, here's a general guide to what you should look for:
| Light Name | Meaning | Status |
|---|---|---|
| Power | Indicates the modem is receiving power. | Solid On (Green or Blue) |
| Online / Internet / WAN | Indicates a successful connection to Frontier's network. | Solid On (Green or Blue) after blinking |
| DSL / Cable / Fiber | Indicates a successful physical link to Frontier's infrastructure. | Solid On (Green or Blue) after blinking |
| Wi-Fi (2.4GHz / 5GHz) | Indicates the Wi-Fi radios are active. | Solid On or Blinking (Green or Blue) |
| Ethernet (LAN) | Indicates a device is connected via Ethernet cable. | Solid On or Blinking (Green or Blue) when a device is connected |
Note: Blinking lights usually indicate activity or a connection attempt, while solid lights signify a stable connection. Refer to your modem's manual for specific light meanings for your model.
The Boot Sequence
When you first plug in the power adapter, the modem will go through a boot sequence. This typically involves:
- Power On: The power light will illuminate.
- Initialization: The modem's internal software loads.
- Connection Attempt: The modem attempts to establish a link with Frontier's network (indicated by blinking DSL, Cable, or Fiber lights).
- Synchronization: The modem synchronizes with Frontier's equipment.
- IP Address Acquisition: The modem obtains an IP address from Frontier.
- Online Status: The "Online" or "Internet" light will turn solid, indicating a successful connection.
This entire process can take anywhere from 2 to 10 minutes. Be patient and observe the lights. If the "Online" light doesn't become solid after 15 minutes, you may need to proceed to the troubleshooting section.
Accessing the Modem Interface
Once your modem is online, you'll want to access its web-based interface to configure your Wi-Fi network and other settings. This is where you personalize your internet experience.
Finding Your Modem's IP Address
Most modems use a default IP address to access their interface. Common addresses include:
192.168.1.1192.168.0.1192.168.254.254
If you're unsure, check the sticker on the bottom or back of your modem, or consult your modem's manual. You can also find it through your connected computer:
- Windows: Open Command Prompt, type
ipconfig, and look for the "Default Gateway" address. - macOS: Go to System Preferences > Network, select your active connection (Wi-Fi or Ethernet), click "Advanced," then the "TCP/IP" tab. Your router's IP will be listed as "Router."
Logging In
Open a web browser (like Chrome, Firefox, Edge, or Safari) on a computer or device connected to the modem (preferably via Ethernet for the first login).
- In the address bar, type the modem's IP address and press Enter.
- You will be prompted for a username and password.
The default login credentials are often printed on a sticker on the modem itself. Common defaults include:
- Username:
admin,user - Password:
admin,password, or a unique string printed on the device.
Security Alert: It is highly recommended to change these default credentials immediately after your first login to secure your network. In 2025, network security is paramount, and default passwords are a significant vulnerability.
Navigating the Interface
Once logged in, you'll see the modem's administrative interface. The layout and options vary greatly between manufacturers and modem models, but common sections include:
- Status: Displays current connection status, IP address, firmware version, etc.
- Setup/Configuration: Where you'll find options for Wi-Fi settings, network configuration, and more.
- Wireless/Wi-Fi: Settings for your wireless network name (SSID), password, security type, and advanced Wi-Fi options.
- Security: Firewall settings, parental controls, and password changes.
- Advanced: More technical settings like port forwarding, QoS (Quality of Service), and DNS settings.
- System/Administration: Options for firmware updates, rebooting the modem, and changing administrator passwords.
Configuring Your Network
This is where you personalize your home network. Proper configuration ensures security, optimal performance, and ease of use for all your devices.
Setting Up Your Wi-Fi Network (SSID and Password)
This is the most important configuration step for most users.
- Navigate to the "Wireless" or "Wi-Fi" section of your modem's interface.
- SSID (Network Name): This is the name your Wi-Fi network will broadcast. Choose something unique but avoid personal information. For example, instead of "MyHomeNetwork," consider "FrontierConnect_[YourInitials]". You might see options for both 2.4GHz and 5GHz bands; you can name them similarly (e.g., "MyNetwork_2.4" and "MyNetwork_5") or use the same name if your modem supports band steering.
- Security Type: Select WPA2-PSK (AES) or WPA3 if available. These are the most secure protocols. Avoid WEP or WPA, as they are outdated and vulnerable.
- Password (Pre-Shared Key - PSK): This is your Wi-Fi password. Create a strong, unique password that is at least 12 characters long and includes a mix of uppercase and lowercase letters, numbers, and symbols. Avoid common words or easily guessable information.
- Save Changes: After making your selections, click "Save" or "Apply." Your modem may reboot to apply these settings.
Changing the Administrator Password
As mentioned earlier, changing the default administrator password is a critical security step.
- Look for a "System," "Administration," or "Security" section.
- Find the option to "Change Administrator Password" or "Change Router Password."
- Enter the current password (the default one you used to log in).
- Enter a new, strong password that you will remember.
- Confirm the new password.
- Save your changes.
Understanding Dual-Band Wi-Fi (2.4GHz vs. 5GHz)
Most modern Frontier modems are dual-band, meaning they broadcast two separate Wi-Fi signals:
- 2.4GHz Band: Offers a longer range and better penetration through walls. However, it's more susceptible to interference from other devices and generally offers slower speeds. It's good for basic browsing, email, and devices further from the router.
- 5GHz Band: Offers significantly faster speeds and less interference but has a shorter range and struggles more with obstructions. It's ideal for streaming, gaming, and devices close to the router.
In 2025, many users benefit from having separate SSIDs for each band, allowing them to manually connect devices to the band that best suits their needs. Some newer modems offer "band steering," where the modem automatically directs devices to the optimal band.
Basic Network Settings
While not always necessary for basic setup, you might encounter other settings:
- DHCP Server: This is usually enabled by default and automatically assigns IP addresses to devices connecting to your network. Keep it enabled unless you have a specific reason not to.
- Firmware Update: Periodically check for firmware updates in the "System" or "Administration" section. These updates often improve performance, security, and add new features. Some modems can be set to update automatically.
Connecting Your Devices
With your network configured, it's time to connect your computers, smartphones, tablets, smart TVs, and other devices to your new Frontier Wi-Fi.
Connecting via Wi-Fi
This is the most common method for connecting devices.
- On your device (smartphone, laptop, tablet, etc.), go to the Wi-Fi settings.
- Scan for available networks.
- Select your newly created Wi-Fi network name (SSID).
- When prompted, enter the Wi-Fi password you set up.
- Your device should connect to the network.
Tip: If you have separate SSIDs for 2.4GHz and 5GHz, choose the 5GHz network for devices that support it and are close to the modem for the best performance, especially for streaming or gaming in 2025.
Connecting via Ethernet Cable
For devices that require the most stable and fastest connection, or for initial setup and troubleshooting, use an Ethernet cable.
- Plug one end of an Ethernet cable into a numbered LAN port on your Frontier modem.
- Plug the other end into the Ethernet port on your device (computer, gaming console, smart TV, etc.).
- Your device should automatically detect the wired connection and gain internet access. No password is required for wired connections.
Connecting Smart Home Devices
Many smart home devices (smart speakers, thermostats, cameras) require Wi-Fi connectivity.
- Follow the specific instructions for each device. Typically, this involves downloading a companion app on your smartphone, putting the device into pairing mode, and then using the app to select your Wi-Fi network and enter your password.
- Ensure your Wi-Fi network is broadcasting and that you have the correct password.
- If you encounter issues, try moving the device closer to the modem during the setup process.
Testing Your Connection
Once your devices are connected, it's time to test your internet speed and stability.
- Open a web browser on a connected device.
- Visit a reliable speed test website (e.g., Speedtest.net, Fast.com).
- Run the speed test. Compare the results to the speeds advertised in your Frontier service plan. Remember that Wi-Fi speeds can be slightly lower than wired speeds due to various factors.
- Try browsing various websites, streaming a video, or downloading a small file to ensure a stable connection.
Troubleshooting Common Issues
Even with a straightforward setup, you might encounter minor hiccups. This section provides solutions to common problems users face.
No Internet Connection / "Online" Light is Off or Blinking
This is the most frequent issue.
- Check Physical Connections: Ensure all cables (power, coaxial/phone, Ethernet) are securely plugged in at both ends.
- Power Cycle the Modem: Unplug the power adapter from the modem, wait 30 seconds, and plug it back in. Allow 5-10 minutes for it to fully boot up and reconnect. This is often referred to as a "reboot" or "power cycle."
- Check Wall Outlet: If using DSL, ensure the phone line is active and not experiencing issues. If using cable, check if your cable TV service is working (if applicable) to rule out a broader service outage.
- Verify Service Status: Check the Frontier Service Outage page or contact Frontier support to see if there's a known outage in your area.
- Modem Lights: Consult the light guide earlier in this post. If the "DSL," "Cable," or "Fiber" light is not solid, there's an issue with the signal coming into your home.
Slow Internet Speeds
If your internet is working but is slower than expected:
- Run a Speed Test (Wired): Connect a computer directly to the modem via Ethernet and run a speed test. If speeds are good when wired, the issue is likely with your Wi-Fi.
- Check Wi-Fi Signal Strength: Ensure your device is within a reasonable range of the modem. Walls and distance weaken Wi-Fi signals.
- Restart Your Modem and Router: A simple reboot can often resolve temporary performance issues.
- Reduce Network Congestion: Too many devices streaming, downloading, or gaming simultaneously can slow down your connection. Try disconnecting some devices temporarily.
- Check for Interference: Other electronic devices (microwaves, cordless phones, Bluetooth devices) can interfere with the 2.4GHz Wi-Fi band. Try moving the modem away from these devices or using the 5GHz band.
- Update Modem Firmware: Ensure your modem has the latest firmware.
- Contact Frontier: If wired speeds are consistently below your plan's advertised speeds, contact Frontier support.
Cannot Connect to Wi-Fi
If your devices can't find or connect to your Wi-Fi network:
- Verify Wi-Fi is Enabled: Check the Wi-Fi settings on your modem's interface to ensure the Wi-Fi radios are turned on.
- Check SSID and Password: Double-check that you are selecting the correct network name (SSID) and entering the password precisely as you set it (case-sensitive).
- Restart Modem: Power cycle your modem.
- Forget and Reconnect: On your device, "forget" the Wi-Fi network and then try connecting again, re-entering the password.
- Too Many Devices: Some older modems may struggle with a very large number of connected devices.
Modem Overheating
Modems generate heat, but excessive heat can cause performance issues or damage.
- Ensure Proper Ventilation: Make sure the modem is in an open, well-ventilated area and not in an enclosed cabinet or stacked with other electronics.
- Check for Dust: Gently dust the vents if they appear clogged.
- Avoid Direct Sunlight: Do not place the modem in direct sunlight.
Security Concerns
If you suspect unauthorized access:
- Change Wi-Fi Password: Immediately change your Wi-Fi password to a strong, unique one.
- Change Administrator Password: Ensure your modem's administrator password is not the default.
- Review Connected Devices: Check the list of connected devices in your modem's interface. If you see unfamiliar devices, disconnect them and strengthen your security.
Optimizing Your Frontier Internet
Once your Frontier internet is set up and running smoothly, you can take steps to ensure you're getting the best possible performance and experience.
Strategic Modem Placement
As mentioned, location is paramount for Wi-Fi coverage.
- Central Location: Place the modem in a central area of your home to maximize signal reach.
- Elevated Position: Placing the modem on a shelf or desk, rather than on the floor, can improve signal distribution.
- Avoid Obstructions: Keep the modem away from thick walls, metal objects, and other electronics that can cause interference.
Leveraging Dual-Band Wi-Fi
Make full use of both the 2.4GHz and 5GHz bands.
- 5GHz for Performance: Connect devices that require high speeds (streaming devices, gaming consoles, laptops for work) to the 5GHz band if they are relatively close to the modem.
- 2.4GHz for Range: Use the 2.4GHz band for devices further away from the modem or those that don't require high bandwidth (e.g., smart plugs, basic smart speakers).
- Band Steering: If your modem supports band steering, enable it for automatic optimization, but be prepared to manually select bands if you notice issues.
Understanding Your Internet Plan
Know what speeds you're paying for. Frontier offers various tiers, and understanding your plan helps you gauge performance expectations.
- Check Your Plan Details: Refer to your Frontier account or billing statement to confirm your subscribed download and upload speeds.
- Realistic Expectations: Remember that advertised speeds are often "up to" speeds, and real-world performance can vary due to network congestion, Wi-Fi limitations, and the number of devices connected. For 2025, fiber optic plans generally offer the most consistent and highest speeds.
Regularly Update Firmware
Firmware updates are crucial for security and performance.
- Check for Updates: Periodically log into your modem's interface and check for available firmware updates.
- Automatic Updates: If your modem offers an automatic update feature, consider enabling it.
- Benefits: Updates can patch security vulnerabilities, improve Wi-Fi performance, enhance stability, and introduce new features.
Consider a Wi-Fi Extender or Mesh System
If you have a large home or significant dead zones:
- Wi-Fi Extenders: These devices rebroadcast your Wi-Fi signal, extending its range. They are a cost-effective solution for smaller areas.
- Mesh Wi-Fi Systems: For larger homes or challenging layouts, a mesh system provides a more seamless and robust Wi-Fi experience by using multiple nodes that work together to create a single, strong network. These are becoming increasingly popular in 2025 for whole-home coverage.
Wired Connections for Critical Devices
For the ultimate in speed and stability, especially for gaming, video conferencing, or large file transfers, prioritize wired Ethernet connections.
- Gaming Consoles: Connect directly via Ethernet for the lowest latency.
- Desktop Computers: Often have better Ethernet ports than Wi-Fi adapters.
- Smart TVs: For uninterrupted 4K streaming, a wired connection is ideal.
Security Best Practices
Maintain a secure network environment.
- Strong Passwords: Use strong, unique passwords for both your Wi-Fi network and your modem's administrator login.
- Guest Network: If your modem supports it, set up a separate guest network for visitors. This keeps your main network and devices more secure.
- Disable WPS (if not needed): Wi-Fi Protected Setup (WPS) can sometimes be a security vulnerability. If you don't use it, consider disabling it in your modem's settings.
By following these optimization tips, you can ensure your Frontier internet service performs at its peak, providing a reliable and fast connection for all your online activities in 2025 and beyond.
Conclusion
Setting up your new Frontier internet modem is a manageable process when approached step-by-step. From carefully unboxing and connecting your hardware to configuring your network and troubleshooting potential issues, this guide has equipped you with the knowledge to achieve a stable and robust internet connection. Prioritizing a central modem location, utilizing dual-band Wi-Fi effectively, and maintaining strong security practices are key to maximizing your service's potential. Remember to regularly check for firmware updates and consider advanced solutions like mesh systems if you have a larger home. With these strategies, you're well-prepared to enjoy a seamless online experience powered by Frontier internet.